
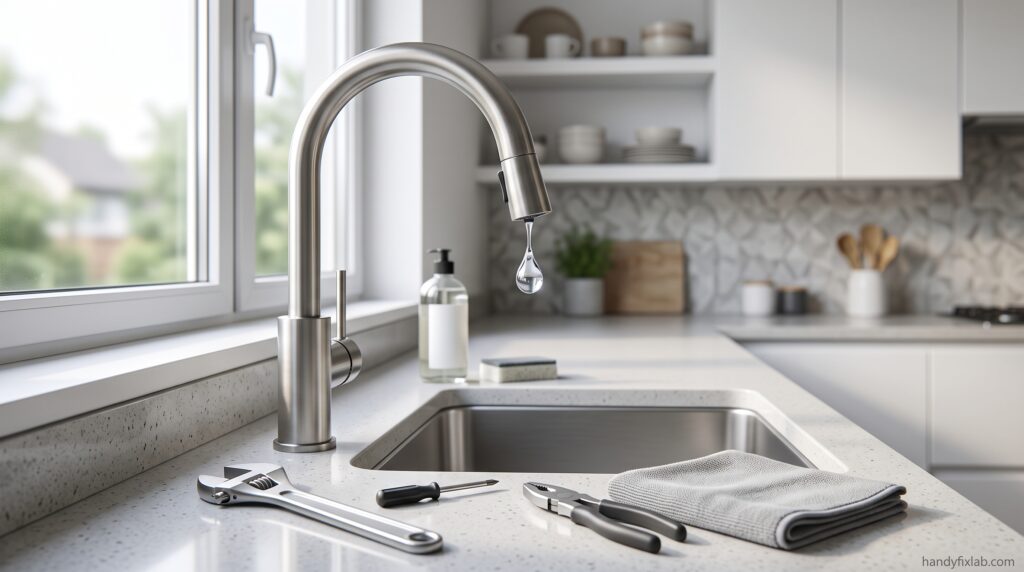
If you want to fix a leaky faucet, the first step is to find exactly where the water is coming from.
A dripping faucet may seem like a minor problem, but leaving it unfixed can waste a surprising amount of water over time. The EPA says a faucet dripping once per second can waste more than 3,000 gallons of water per year.
The good news is that many faucet leaks are caused by worn washers, gaskets, O-rings, or cartridges and can be repaired with a few basic tools. In this guide, you’ll learn how to fix a leaky faucet safely and when it is better to call a professional.
Why Is My Faucet Leaking?
Before you fix a leaky faucet, check whether the water is coming from the spout, handle, or the connections underneath the sink.
The cause depends on the type of faucet and where the water is coming from.
A leak from the spout may be caused by a worn internal washer, cartridge, or valve component. Water leaking around the handle can point to a worn O-ring or seal. If water is appearing underneath the sink, the problem may instead be at a connection or supply line.
Before taking anything apart, watch the faucet for a moment and identify exactly where the water is coming from. This can save you from replacing the wrong part.
What You Need
For many basic faucet repairs, you may need:
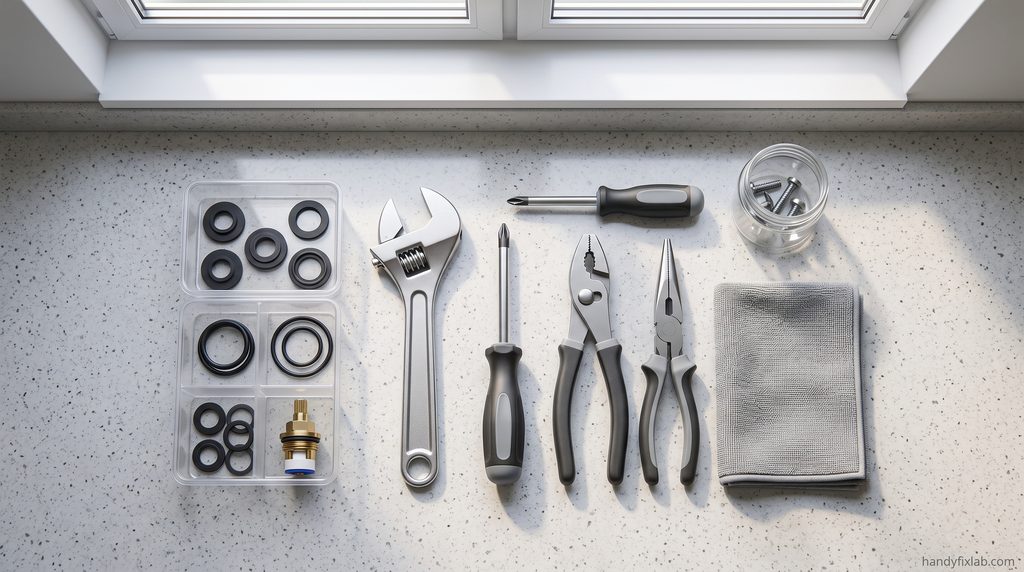
- Screwdriver
- Adjustable wrench
- Pliers
- Towel or cloth
- Replacement washer, O-ring, or cartridge if required
If you are building your first toolbox, see our guide to [essential tools for homeowners] for more useful equipment for everyday repairs.
Always make sure the replacement part matches your faucet. Taking the old part with you when buying a replacement can make finding the correct size easier.
How to Fix a Leaky Faucet
1. Turn Off the Water
Before starting, shut off the water supply to the faucet. The shutoff valves are usually located underneath the sink.
Open the faucet briefly after shutting off the supply to release remaining water and pressure. Place a towel around the work area to catch any water left in the lines.
Never start removing faucet parts while the water supply is still on.
2. Identify Where the Leak Is Coming From
Check the faucet again after the water is turned off.
If the faucet was dripping from the spout, the problem may be inside the valve assembly. If water was coming from around the handle, a worn seal or O-ring may be responsible. Water underneath the sink requires a different inspection.
This step matters because different faucet designs use different replacement parts.
3. Remove the Handle Carefully
Many faucets have a small decorative cap or screw holding the handle in place. Remove it carefully and keep the small parts somewhere safe.
Depending on the faucet design, you may then see a cartridge, valve stem, retaining clip, or other internal component.
Do not force a part that will not move. Some faucets use different retaining systems, and forcing them can damage the fixture. Manufacturer instructions are useful when the design is unfamiliar.
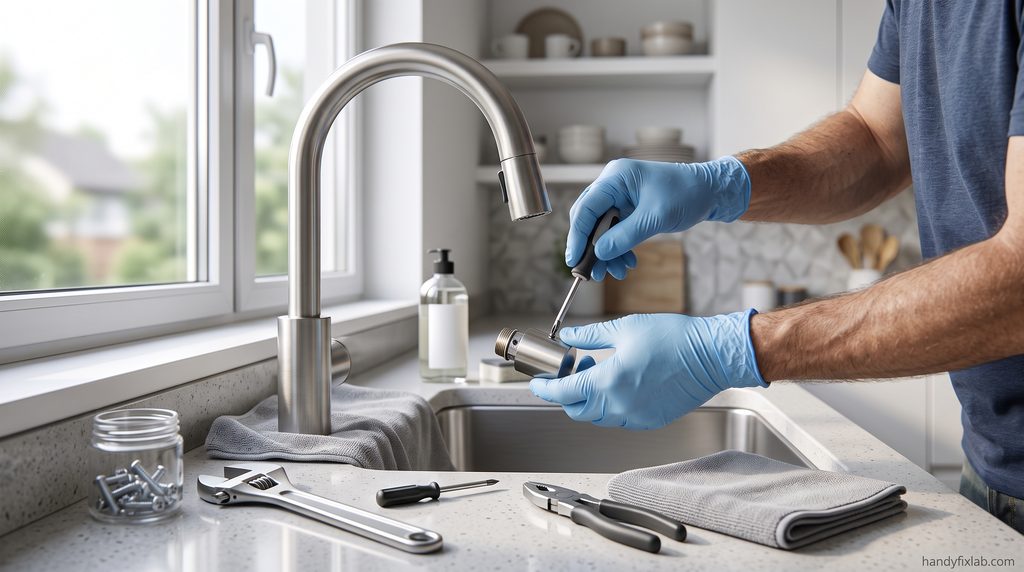
4. Inspect and Replace the Worn Part
Look for obvious wear, cracks, mineral buildup, or damaged seals.
Older compression-style faucets commonly use washers and gaskets, while many single-handle faucets use cartridges or other valve components. The repair method therefore depends on the faucet design.
Replace the damaged part with the correct matching component. If you are unsure which part you need, take the old component to a hardware store or check the faucet manufacturer’s model information.
5. Reassemble and Test the Faucet
Put the components back together in the correct order and reinstall the handle.
Turn the water supply back on slowly. Open and close the faucet several times, then check around the handle, spout, and connections for leaks.
If the dripping has stopped and there is no water around the connections, the repair is complete.
What If the Faucet Still Drips?
If the faucet continues to leak after replacing the suspected part, the problem may be elsewhere in the valve assembly or the replacement part may not be the correct one.
Mineral buildup can also affect faucet components and restrict normal operation. WaterSense recommends periodically checking faucets for scaling or calcium buildup.
Avoid repeatedly replacing parts without identifying the actual cause. You could spend money on unnecessary components and still have the same leak.
When to Call a Professional
A simple faucet repair is not always a DIY job.
Consider calling a qualified plumber if the shutoff valve will not close, the faucet or plumbing connection is badly corroded, water is leaking from inside the wall or cabinet, or the repair requires work you are not comfortable performing.
If you notice water damage under the sink, deal with the leak promptly. A small plumbing problem can become a much more expensive repair if water is allowed to damage cabinets, flooring, or other materials.
For another common plumbing problem, see our guide on [how to fix a running toilet].
Final Thoughts
A dripping faucet is easy to ignore, but fixing it early can prevent wasted water and potentially bigger problems. Start by identifying exactly where the leak is coming from, shut off the water, replace the appropriate worn component, and test the faucet carefully.
The right tools and a little patience are often enough for a basic faucet repair. If the cause is unclear or the plumbing is damaged, getting professional help is the safer choice.
In many cases, you can fix a leaky faucet yourself with a few basic tools and the correct replacement part.